MCP
Supported LLM's
- Codex CLI (recommended)
- Cursor
- Claude Code
Authenticating
Numerai MCP by leveraging the normal Numerai API Key which can be created by going to your Account Settings and scrolling down to the Automation section.
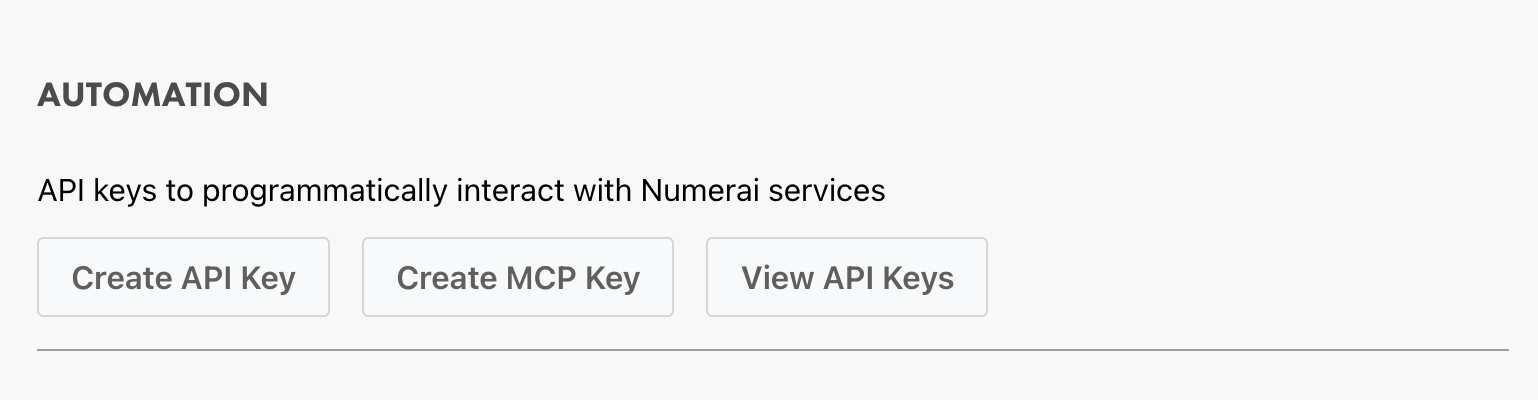
We now have a new button for Create MCP Key, the only difference from a normal API key is we automatically select all of the scopes that are needed for the MCP to have full functionality. Currently, these scopes are:
- Upload submissions and pickled models
- Download previous submissions and pickled models
- View historical submission info
- View user info, (e.g. balance, withdrawal history)
Whether you are using a previously generated API key or creating a new MCP key, you will end up having a PUBLIC_KEY and PRIVATE_KEY. These need to be stored in an environment variable called NUMERAI_MCP_AUTH in the following format: NUMERAI_MCP_AUTH="Token PUBLIC_KEY$PRIVATE_KEY"
This can be stored in your terminal environment using the following command:
export NUMERAI_MCP_AUTH="Token PUBLIC_KEY\$PRIVATE_KEY"WARNING
In many operating systems, the $ character needs to be escaped. This is why in the above export command there is a \$ between the public and private keys
Installing
Codex CLI
For Codex CLI, we have a one-line install command which installs the MCP and guides you through setting up an MCP API key inside the Numerai Web App and applying the key to your environment variables.
You can install it using:
curl -sL https://numer.ai/install-mcp.sh | bashIf you prefer to manually install it, add this to the bottom of your ~/.codex/config.toml :
[mcp_servers.numerai]
url = "https://api-tournament.numer.ai/mcp/sse"

[mcp_servers.numerai.env_http_headers]
Authorization = "NUMERAI_MCP_AUTH"
Cursor
Installing the MCP in cursor requires modifying the ~/.cursor/mcp.json file, adding this configuration to the mcpServers object:
{
  "mcpServers": {
    "numerai": {
      "url": "https://api-tournament.numer.ai/mcp/sse",
      "headers": {
        "Authorization": "${env:NUMERAI_MCP_AUTH}"
      }
    }
  }
}
Claude Code
Installing the MCP to Claude Code can be done by running this command:
Note: you must export NUMERAI_MCP_AUTH before running this command, otherwise the MCP will be added without the proper authentication header and will not work.
claude mcp add --transport http numerai https://api-tournament.numer.ai/mcp --header "Authorization: ${NUMERAI_MCP_AUTH}"Usage
Once the MCP has been installed in your LLM of choice, using it simple. Your LLM should connect to it on startup automatically and you may begin using the tool using natural language.
Our tools are separated into two main categories: tournament information (get leaderboard, model performance, current round, etc.), and research assistance (creating and uploading models, checking on submissions, etc.)
We also have a generic GraphQL tool that will allow your LLM to utilize the introspection call to build it's own GraphQL calls and execute them through the MCP.